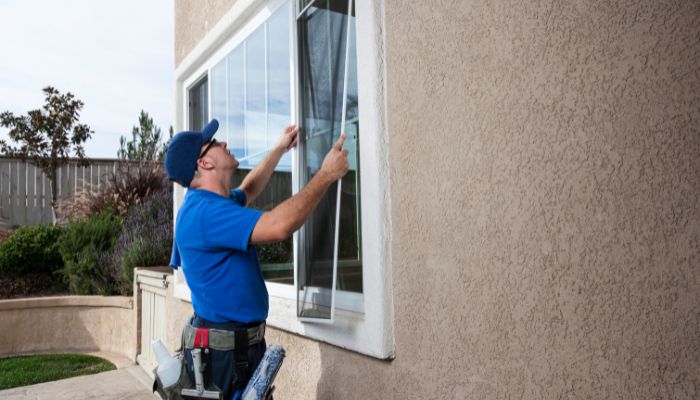
Replacing or installing new windows in your home can seem like a daunting task, especially for beginners. However, with the right tools, guidance, and preparation, window installation can be a manageable and rewarding DIY project. In this comprehensive guide, we will walk you through the essential steps and considerations for a successful window installation, ensuring that you can confidently tackle this home improvement project.
1. Choosing the Right Windows
Assess Your Needs and Preferences
Before embarking on your window installation journey, take the time to assess your needs and preferences. Consider factors such as energy efficiency, style, materials, and budget. Determine whether you prefer vinyl, wood, or aluminum frames, and decide on the type of window – double-hung, casement, or sliding, for example – that best suits your home’s aesthetic and functionality.
Research Window Brands and Quality
Once you have a clear understanding of your preferences, research various window brands and their offerings. Look for reputable manufacturers that provide high-quality, durable products with good warranties. Reading customer reviews and seeking recommendations from friends or family can help you narrow down your options.
2. Proper Measurements and Preparation
Measure Your Window Openings
Accurate measurements are crucial for ensuring a proper fit and smooth installation process. Measure the width, height, and depth of your window openings, taking multiple measurements at different points to account for any irregularities. Be sure to record these measurements carefully, as they will be used when ordering your new windows.
Gather Necessary Tools and Materials
Before beginning the installation process, gather all the necessary tools and materials. Common items needed for window installation include:
- Tape measure
- Level
- Hammer
- Pry bar
- Utility knife
- Caulk and caulking gun
- Shims
- Screwdriver or drill
- Screws and nails
3. Removing Old Windows
Safely Remove the Old Window
Begin by safely removing the old window from its opening. This may involve removing any trim, moldings, or stops surrounding the window. Use a pry bar or utility knife to carefully remove these elements without damaging the surrounding materials. Once the window is free from its frame, lift it out of the opening, taking care not to damage the sill or surrounding structure.
Clean and Inspect the Window Opening
With the old window removed, clean and inspect the window opening for any damage or rot. Repair or replace any damaged components to ensure a solid foundation for your new window. Additionally, remove any old caulk or sealant to create a clean surface for the new installation.
4. Installing the New Window
Dry Fit the New Window
Before securing the new window in place, perform a dry fit by placing it in the opening to ensure proper sizing and alignment. Check that the window is level and plumb, making any necessary adjustments with shims if needed. If the window fits correctly, remove it from the opening and prepare it for installation.
Apply Caulk and Set the Window
Apply a bead of caulk along the sill and the exterior stops to create a watertight seal. Carefully lower the new window into the opening, pressing it firmly against the caulk and ensuring it is properly seated on the sill. Double-check that the window is level and plumb, adjusting with shims as necessary.
Secure the Window in Place
Once the window is correctly positioned, secure it in place using screws or nails, following the manufacturer’s instructions. Be careful not to overtighten the fasteners, as this can cause the window frame to warp or bow. If required, install additional shims to maintain proper spacing and alignment.
5. Finishing Touches
Insulate and Seal the Window
With the window securely installed, insulate any gaps between the frame and the opening using low-expanding foam insulation or fiberglass insulation. This will help prevent drafts and improve the overall energy efficiency of your home. After insulating, apply a bead of caulk around the interior and exterior perimeters of the window to create a watertight seal.
Reinstall Trim and Moldings
Finally, reinstall any trim or moldings that were removed during the window removal process. If necessary, paint or stain the trim to match the rest of your home’s décor. With the trim in place, your window installation is complete!
Window installation may seem intimidating for beginners, but with careful planning, preparation, and attention to detail, it can be a successful and rewarding DIY project. By following this comprehensive guide, you can confidently install new windows in your home, improving its appearance, comfort, and energy efficiency. Remember to always prioritize safety, and don’t hesitate to seek professional assistance if you encounter any issues or uncertainties during the installation process.

